⭐ Introduction
Listen… if I knew that making my own bánh mì bread at home was this easy, I would’ve started years ago. YEARS. The number of bánh mì I’ve bought in my lifetime? Honestly, I don’t even want to know the total. But now that I’ve unlocked the formula for beginner-friendly Vietnamese baguettes, I’ve been making them on a weekly basis. And I mean weekly. Like “John, what do you want for lunch?”
“We still have pate?”
“Perfect. Bánh mì it is.”
There’s something about fresh, hot bánh mì bread that just hits different. It’s lighter, crispier, airier than a French baguette — that signature crackly shell that shatters the second you bite into it, yet somehow the inside stays fluffy and soft like a cloud. It’s iconic. It’s nostalgic. It’s the backbone of Vietnamese street food culture.
And the best part?
You can absolutely make it at home… even if you’re not a bread person. Even if you’ve never kneaded anything in your life. Even if yeast still intimidates you (we’ve all been there).
This is truly a beginner bánh mì recipe, designed to be forgiving, straightforward, and delicious. If you’re ready to unlock the joy of homemade Vietnamese baguettes, this post is for you.
But before we dive into the recipe, let’s talk about what makes bánh mì so special — and why the bread is the star of the show.
🇻🇳 A Quick History: What Makes Bánh Mì Bánh Mì
Bánh mì wasn’t just invented one day — it evolved.
Like many Vietnamese foods, its story begins during French colonial rule in the 1800s, when the French introduced their classic baguette. But Vietnam being Vietnam — creative, adaptable, resourceful — took that baguette and said:
“We’re going to make this ours.”
The result was the Vietnamese baguette:
- Lighter
- Airier
- Shorter
- More crisp
- Less dense than French bread
- And usually made with a mix of wheat flour and rice flour (traditionally)
Why the difference?
Because imported wheat flour was expensive and hard to find, so Vietnamese bakers stretched it with rice flour. Little did they know, that substitution would create something iconic.
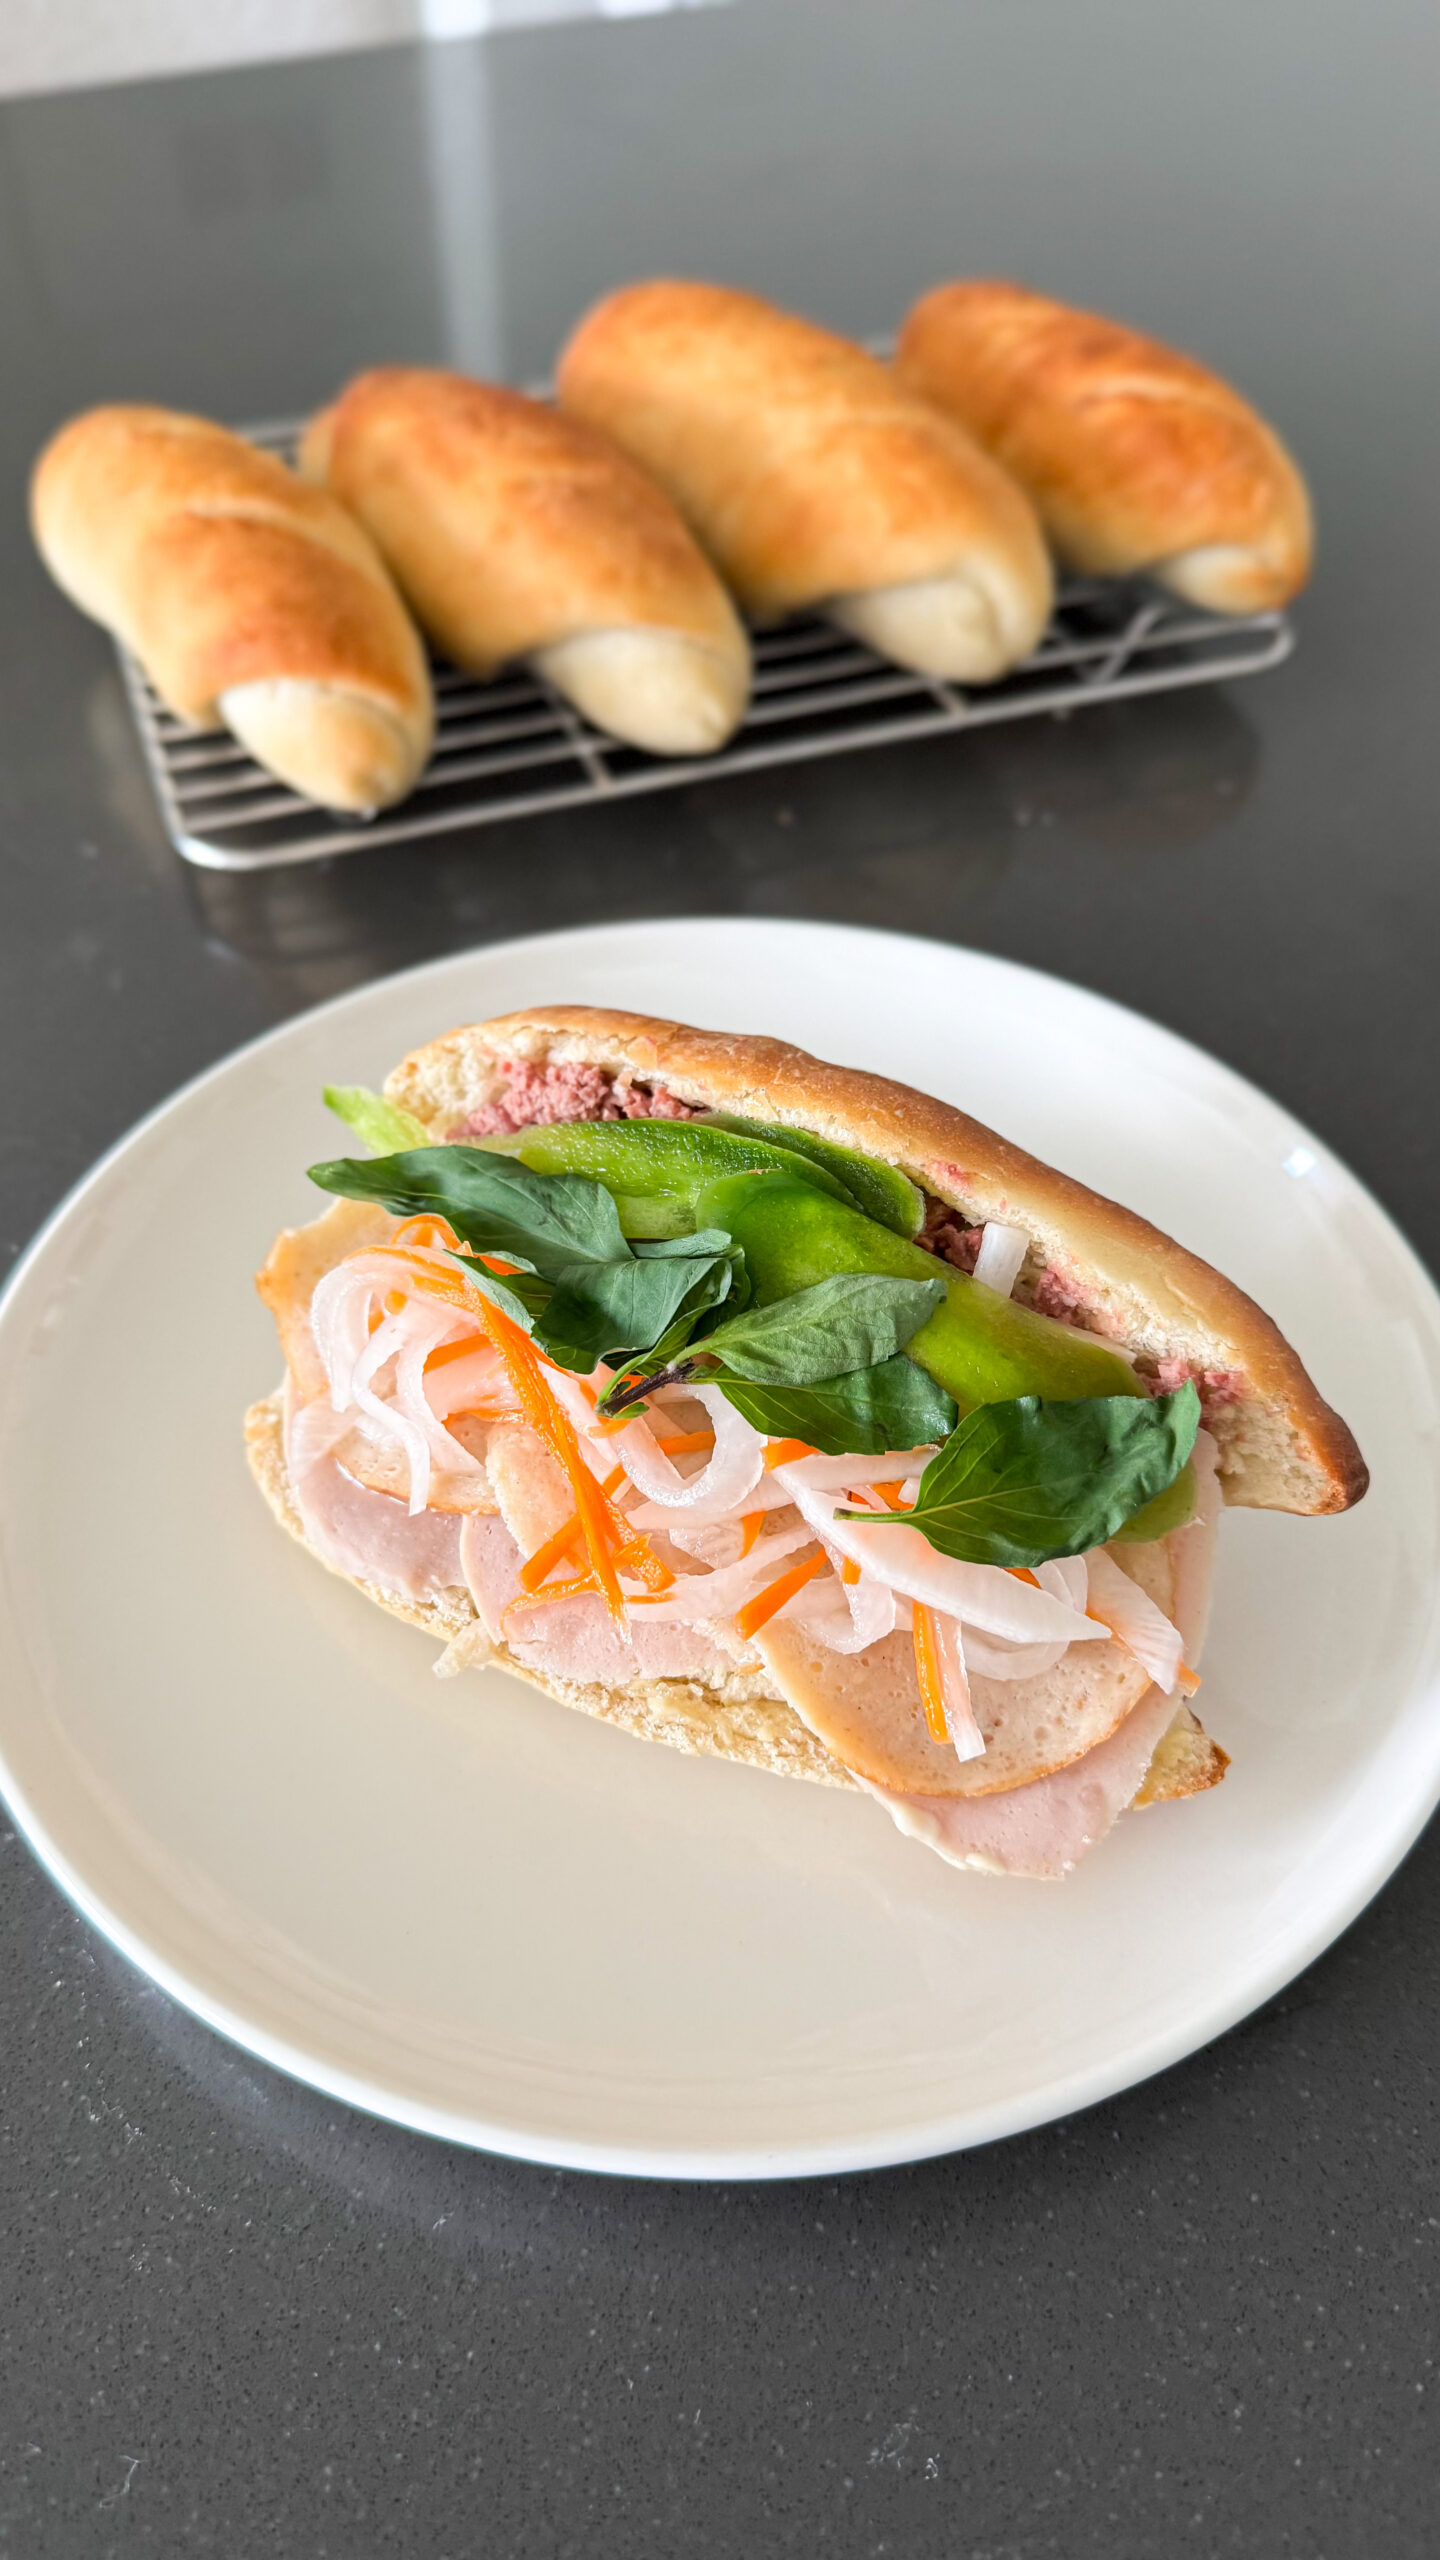
This new style of bread became the foundation for bánh mì, which eventually became the cultural treasure we know today: roasted pork, pickled daikon and carrot (đồ chua), cilantro, pate, cucumbers, Maggi — all tucked into a warm, crackly baguette.
But make no mistake:
The bread is everything.
Without the right bread, it’s not bánh mì. It’s just a sandwich.
And that’s why making it at home feels like unlocking a cheat code. Once you’ve had it fresh out of the oven, you’ll never look at store-bought the same way again.
Yield: 6 small Vietnamese baguettes (6-inch)
Prep Time: 20 minutes
Rise Time: ~1½ hours
Cook Time: 14–16 minutes
Total Time: ~2 hours
🥖 Beginner Bánh Mì Bread Recipe
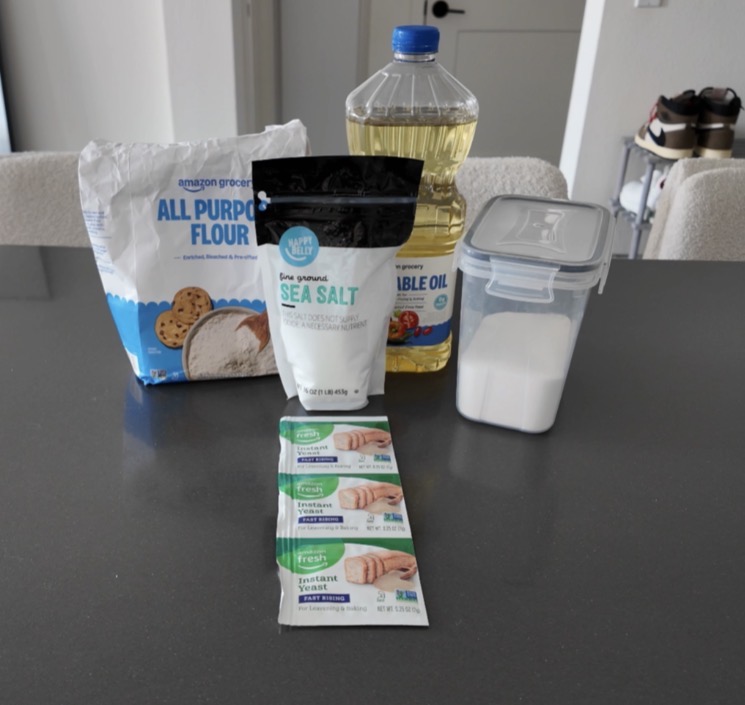
🧺 Ingredients
- 3 cups (375g) AP flour
- 1 cup (240ml) warm water (100–110°F)
- 2 tsp instant yeast
- 2 tsp sugar
- 1½ tsp salt
- 1 tbsp neutral oil (canola, sunflower, or vegetable)
⚙️ Equipment
- Stand mixer with dough hook
- Baking tray (light-colored preferred)
- Oven-safe metal pan (for steaming)
- Plastic wrap or damp towel
- Sharp knife or bread lame
- Spray bottle of water (optional but highly recommended)
🪄 How to Make Vietnamese Bánh Mì
Step 1: Mix the Dough
In your mixer bowl, add:
- Flour
- Instant yeast
- Sugar
- Salt
Pour in:
- Warm water
- Oil
Mix on low until a rough dough forms (about 1 min).
If too dry → add 1 tbsp warm water
If too sticky → sprinkle in 1 tbsp flour
We want a soft, slightly tacky dough.

Step 2: Knead
Knead on medium (speed 3–4) for 5–6 minutes.
How to know it’s ready:
- Smooth, slightly elastic
- Pulls away from bowl edges
- Sticks slightly to the bottom
- Poke test: indentation springs back halfway
Perfect.
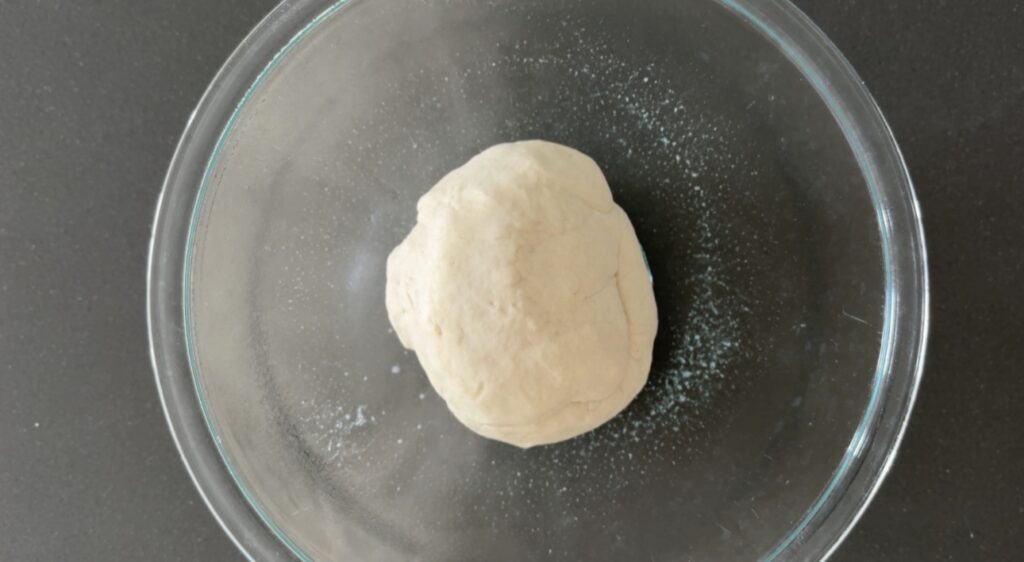
Step 3: First Rise
Lightly oil a bowl, place dough inside, cover with plastic wrap or damp towel.
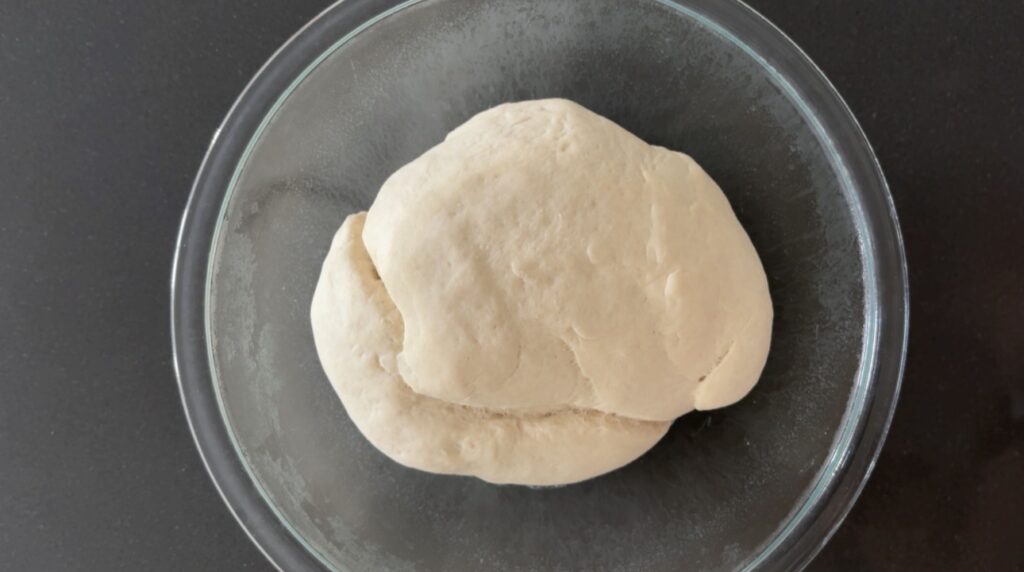
Let rise for 1 hour, or until doubled.
Tip:
Inside a turned-off oven with the light on? Great proofing environment. Especially in SoCal where kitchens can get cold at night.
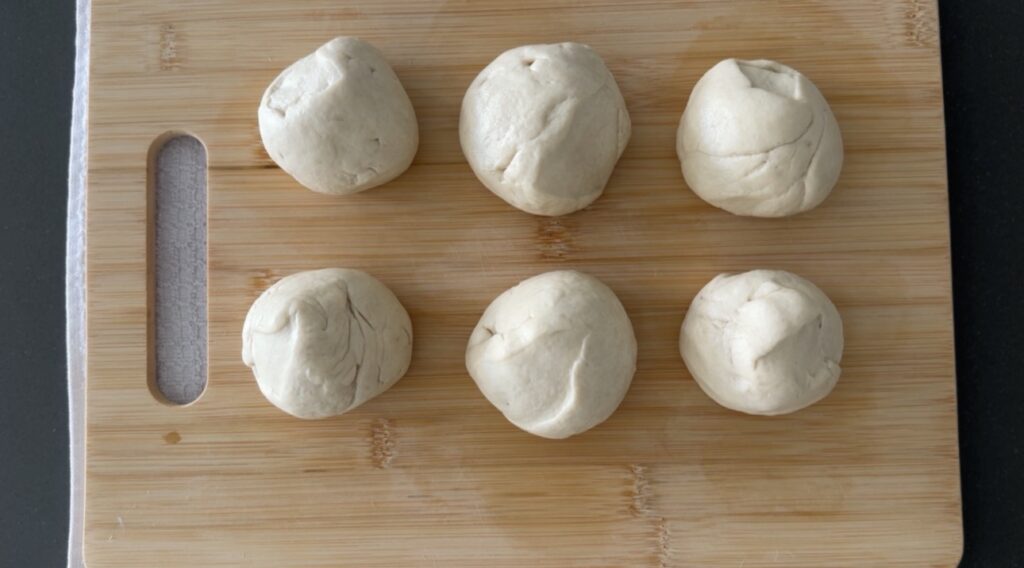
Step 4: Shape the Rolls
Punch down the dough.
Divide into 6 equal portions (~115g each).
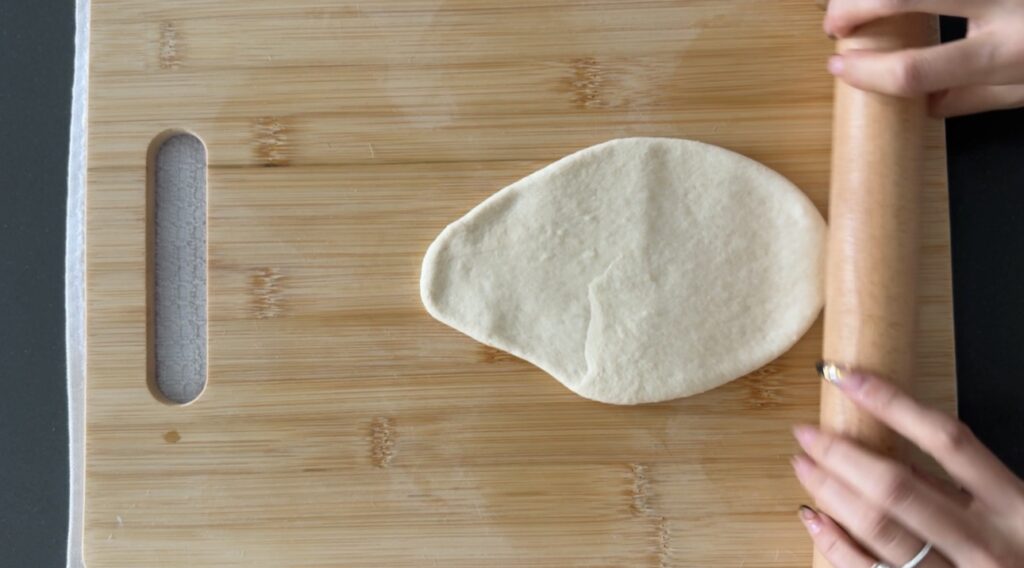
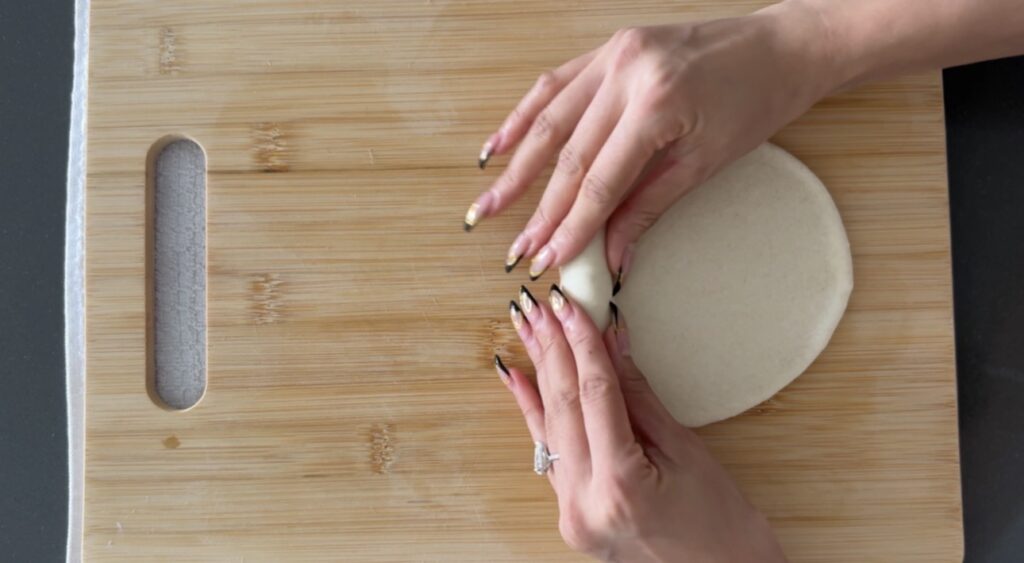
To shape:
- Flatten each piece into a pear shape (small top, bigger bottom).
- Roll tightly from the small end to the big end (like a jelly roll).
- Pinch the seam closed.
- Taper the ends for that classic bánh mì silhouette.
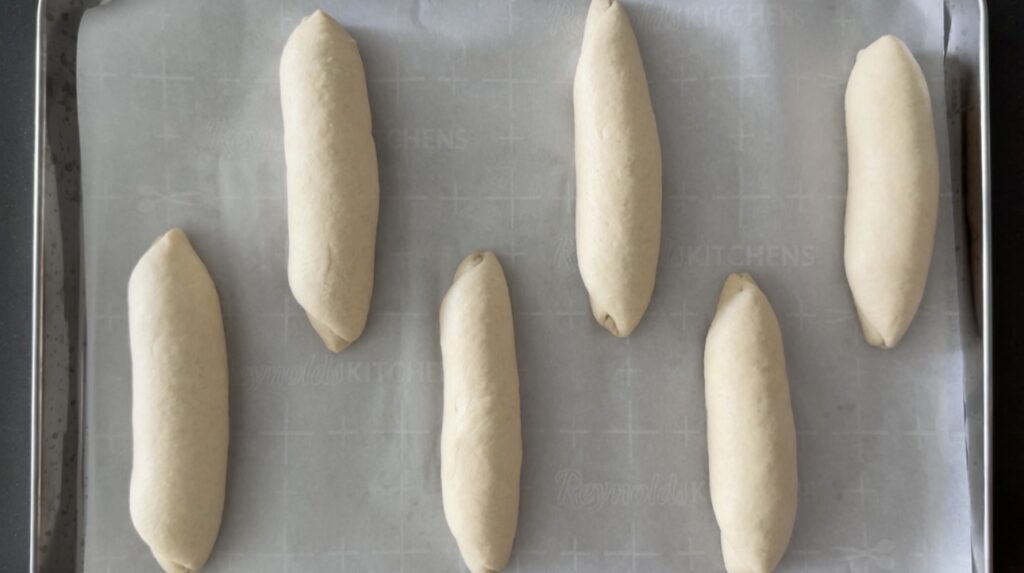
Place seam-side DOWN on your baking sheet.
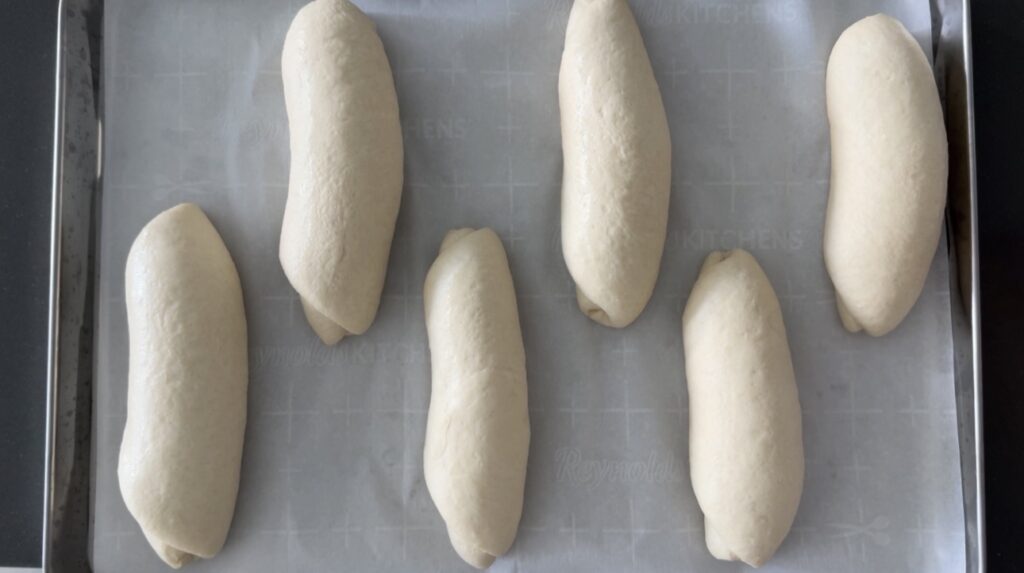
Step 5: Second Rise
Cover loosely with oiled plastic wrap or a damp towel.
Let rise again for 30–40 minutes.
They should look puffy but not over-proofed.
Step 6: Preheat + Steam Setup
Preheat oven to 425°F.
Place an empty metal pan on the bottom rack while heating.
You will pour water into this later to create steam — this is what gives bánh mì its iconic crackly crust.
When you’re ready to bake:
- Add 1–2 cups HOT water to the empty pan
- Quickly close the oven door (steam escapes fast!)
Your bread goes on the middle rack.
Step 7: Score + Bake
Just before baking:
- Slice lines down the center of each roll (45° angle)
- Optionally spritz each roll with water
This keeps the crust thin and extra crisp.
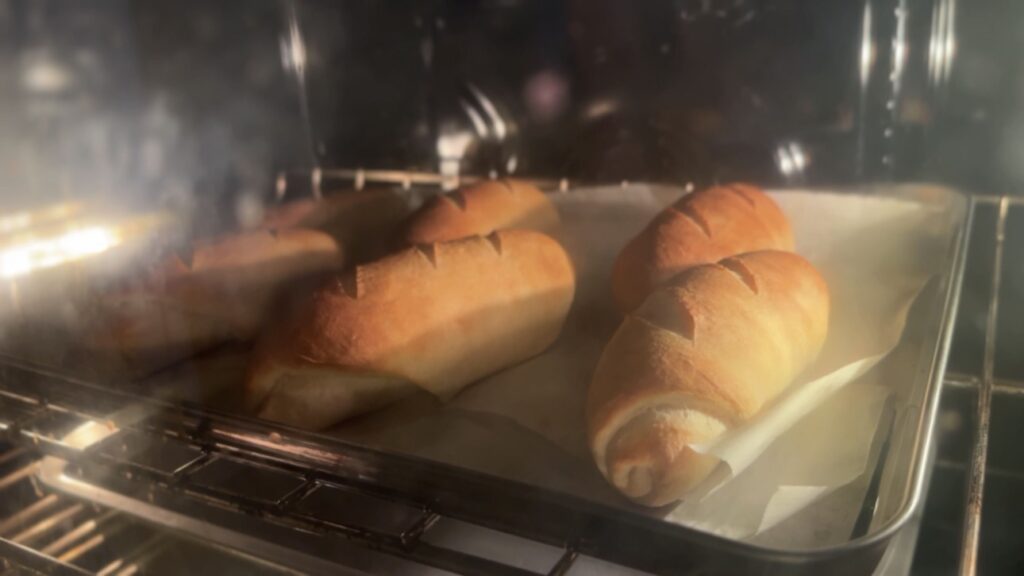
Bake for 14–16 minutes until golden.
If they brown too fast → tent with foil.
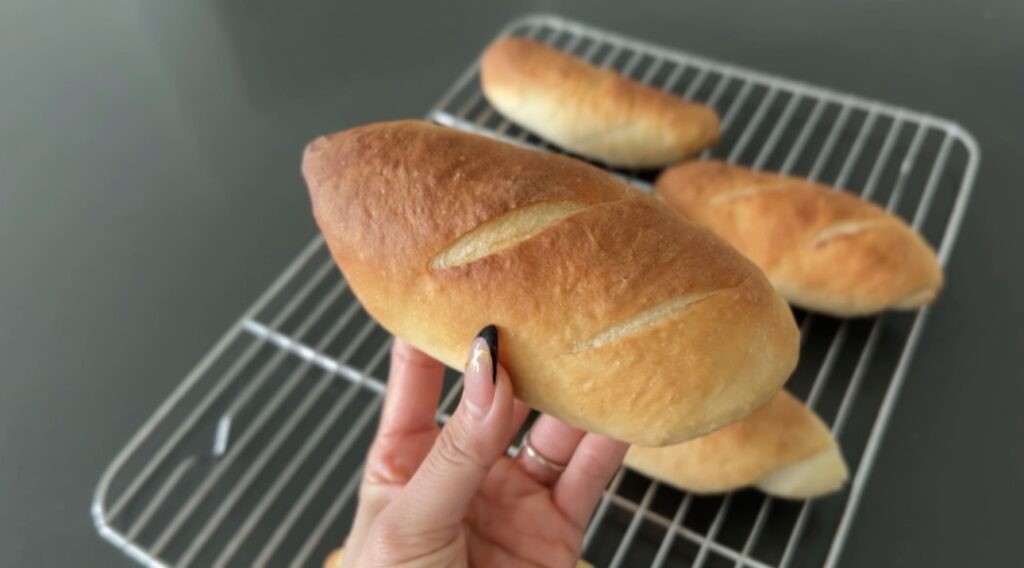
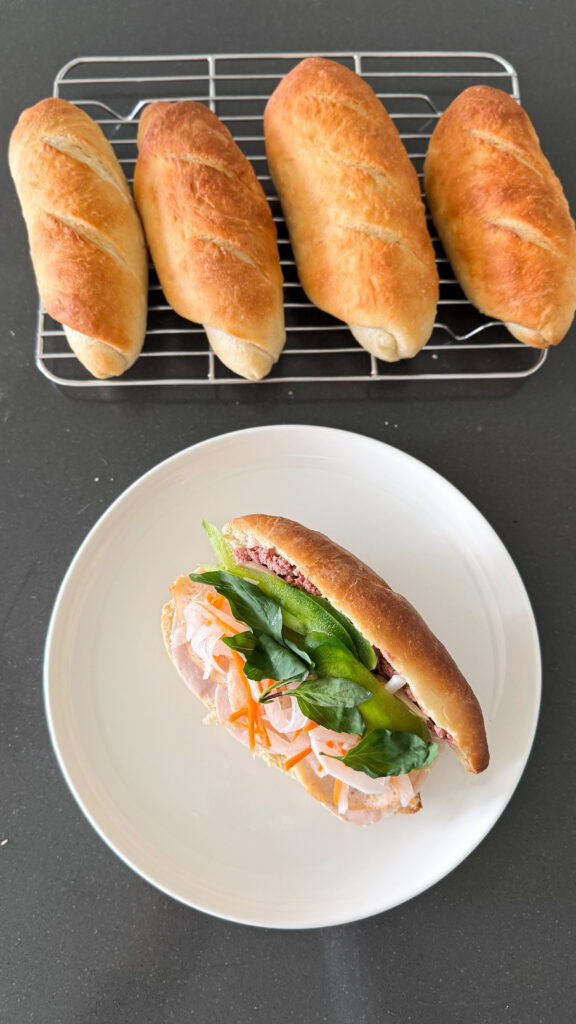
Step 8: Cool + Serve
Cool on a wire rack for at least 10 minutes.
The crust will crisp up even more as they cool.
And then?
Slice, toast lightly, and fill with your favorite bánh mì toppings.

⭐ What Makes This a Great Beginner Recipe?
✔️ No rice flour required
✔️ No complicated techniques
✔️ Simple shaping
✔️ Works with stand mixer or by hand
✔️ Produces lightweight, Vietnamese-style baguettes
✔️ Steam method mimics bakery ovens
✔️ Very forgiving, even if you’re new to bread
Once you make these once, I promise you’ll make them again. And again. And again.
⭐ What to Fill Your Homemade Bánh Mì With
The fun part.
Here are some classics:
✔️ Bánh mì thịt nướng (grilled lemongrass pork)
✔️ Bánh mì xíu mại (Vietnamese meatballs)
✔️ Bánh mì gà nước mắm (fish sauce glazed chicken)
✔️ Bánh mì bì (shredded pork skin)
✔️ Bánh mì chay (tofu + mushroom)
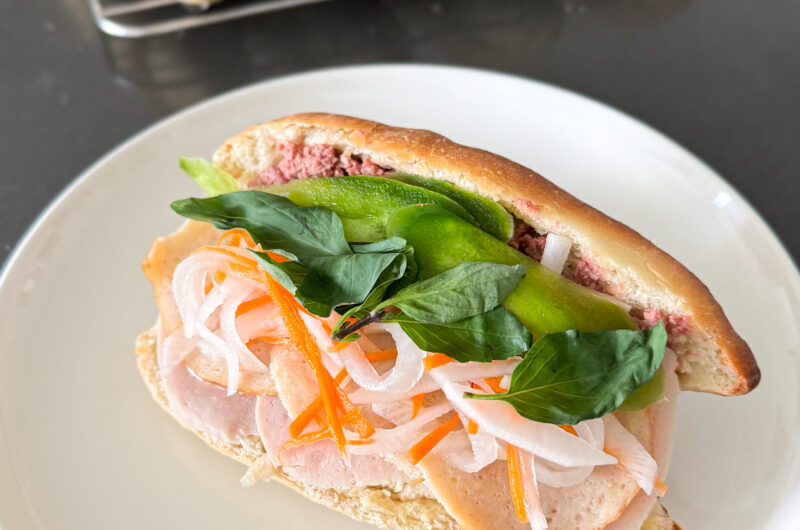
Or go simple:
- pate
- Vietnamese mayo
- đồ chua (pickled daikon/carrot)
- cucumbers
- cilantro
- Maggi (just a whisper)
Homemade bread truly elevates everything.
⭐ Storage
Room temp: 1–2 days
Fridge: Not recommended (dries out)
Freezer: Wrap tightly and freeze up to 1 month. Reheat in 330°F oven/airfryer for 5–7 min
⭐ Final Thoughts
If bánh mì is a love language… fresh homemade bánh mì bread is the deluxe version.
I used to think making Vietnamese baguettes at home required years of experience, a steam oven, and maybe three ancestors watching over my shoulder. But honestly? It’s way simpler than I ever expected.
And once you taste bánh mì made with bread that’s still warm — still crackling — straight from your oven?
You will never go back.
So if you’ve been intimidated, let this be your sign:
Start with this beginner recipe.
Make a batch.
Fill them with whatever you love.
And prepare to be slightly mad you didn’t try this sooner… because yep, that was me too.
How to make an Easy Bánh Mì (Vietnamese Baguettes)
Course: Breakfast, Lunch, DinnerCuisine: viet, vietnamese, asianDifficulty: Easy6
servings20
minutes14
minutesA light, crispy Vietnamese bánh mì bread that’s beginner-friendly, easy to shape, and delivers that classic airy crunch fresh from your home oven.
Ingredients
3 cups (375g) all-purpose flour
1 cup (240ml) warm water (100–110°F)
2 tsp instant yeast
2 tsp sugar
1½ tsp salt
1 tbsp neutral oil
Directions
- Make the Dough
Add flour, yeast, sugar, and salt to a bowl. Pour in warm water and oil. Mix until a rough dough forms.
Knead 5–6 minutes until smooth, elastic, and slightly tacky.
Place dough in an oiled bowl. Cover and let rise 1 hour, or until doubled. - Shape
Punch down. Divide into 6 pieces (~115g). Flatten into a pear shape, then roll tightly like a jelly roll. Pinch seam and taper the ends. Place seam-side down on a tray.
Second Rise
Cover and rest 30–40 min until puffy. - Preheat + Steam
Preheat oven to 425°F. Place an empty metal pan on the bottom rack. Once oven is hot, pour 1–2 cups hot water into the pan to create steam.
Score + Bake
Slash one line down each loaf. Optional: mist with water. Bake 14–16 minutes or until golden and hollow-sounding. - Cool
Cool on a rack for 10 minutes before slicing.